Step-by-Step Install of a High-Performance Cathedral Ceiling
When designing the roof assembly and cathedral ceilings for Model ReModel 2022's in-law suite addition, builders Nicole Tysvaer and Matt Kulp of Symbi Homes worked to prioritize energy efficiency, wellness, and beauty.
"We needed a minimum R-49 roof, a ventilation system to prevent moisture problems, and increased ceiling height to create a sense of spaciousness in the main living area," says Symbi Homes CEO Nicole Tysvaer.
Symbi chose sustainable, formaldehyde-free Greenfiber Sanctuary, a dense-packed cellulose insulation blown into the 18" cavity of their roof trusses (R-3.7 per inch), which exceeded their thermal protection goals, but also added considerable weight to the roof assembly.
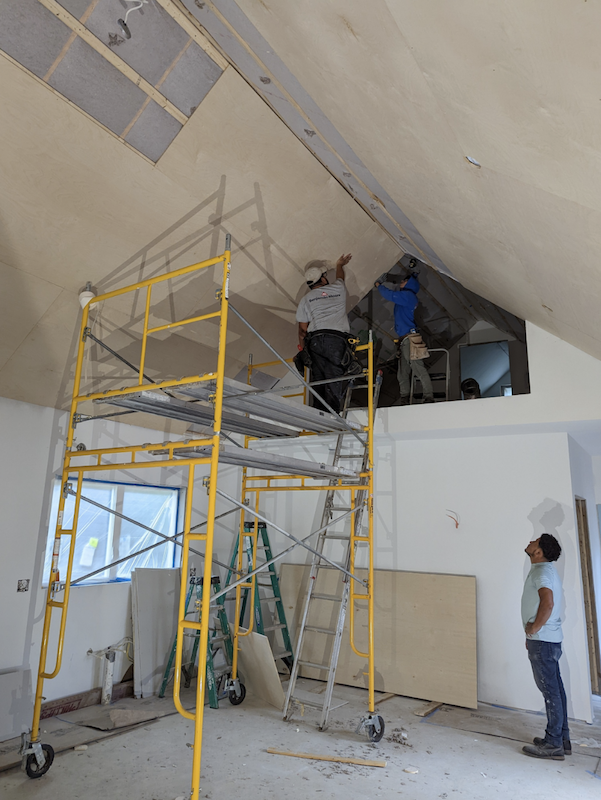
To prevent any future sagging of the material, Kulp added 3/4" battens across the cellulose netting and finished the ceiling with 1/2" birch plywood, which will be left exposed.
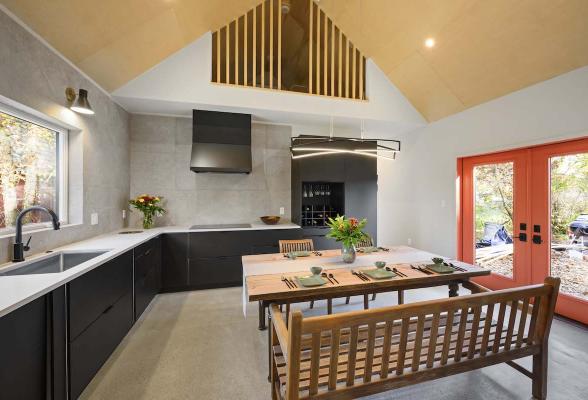
"The clear-coated plywood ceiling is absolutely beautiful and gives the addition a cozy, modern cabin vibe," explains Tysvaer.
Here's an illustrated step-by-step explanation of the installation process:
(1) 24" DCI Products SmartBaffles covered the entire underside of the roof plywood to create a channel for natural ventilation, helping to reduce roof temps and prevent moisture buildup.
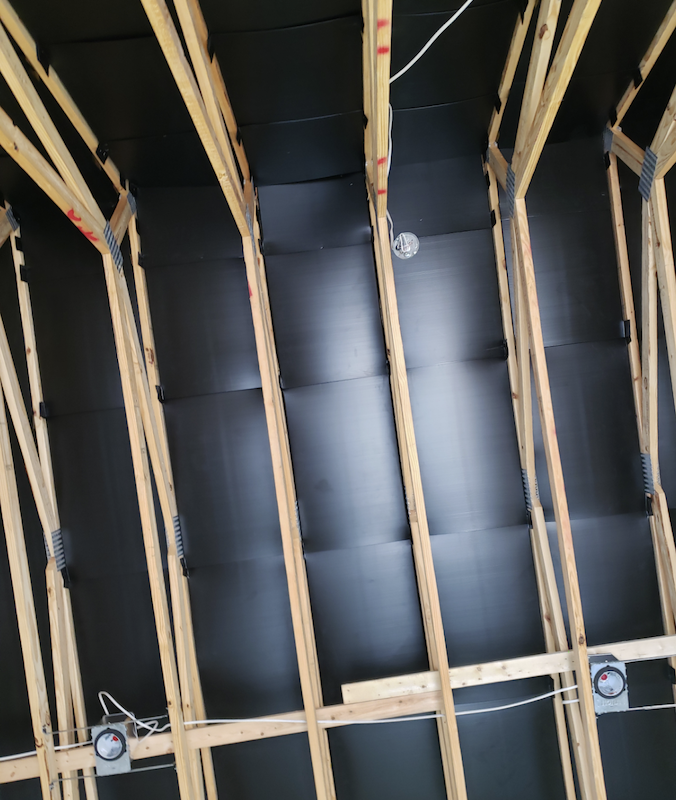
(2) After installing baffles, Symbi Homes sealed the seams and voids in a two-step process. First, polyurethane foam insulation was applied with a sprayer. Second, the crew returned the next day to complete the air sealing, attending to even the most minute gaps and cracks using cans of polyurethane insulating foam with a thin straw applicator.
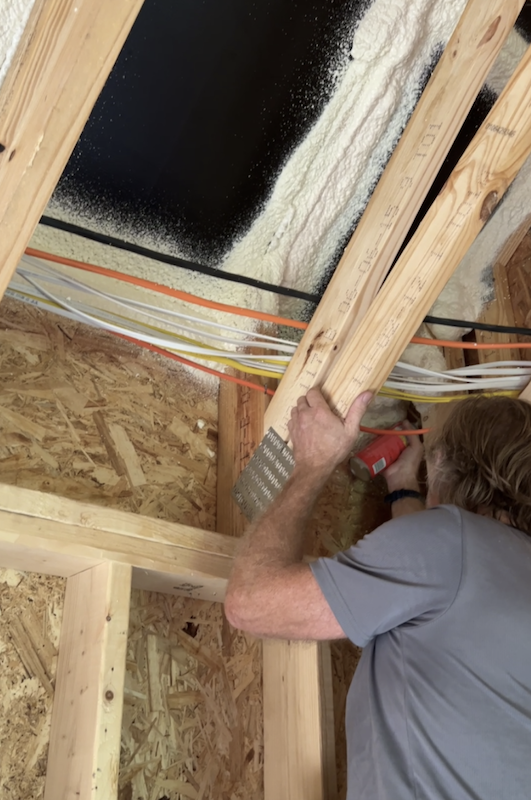
(3) Southland Insulators installed netting to hold the Greenfiber Sanctuary dense-packed cellulose in place.
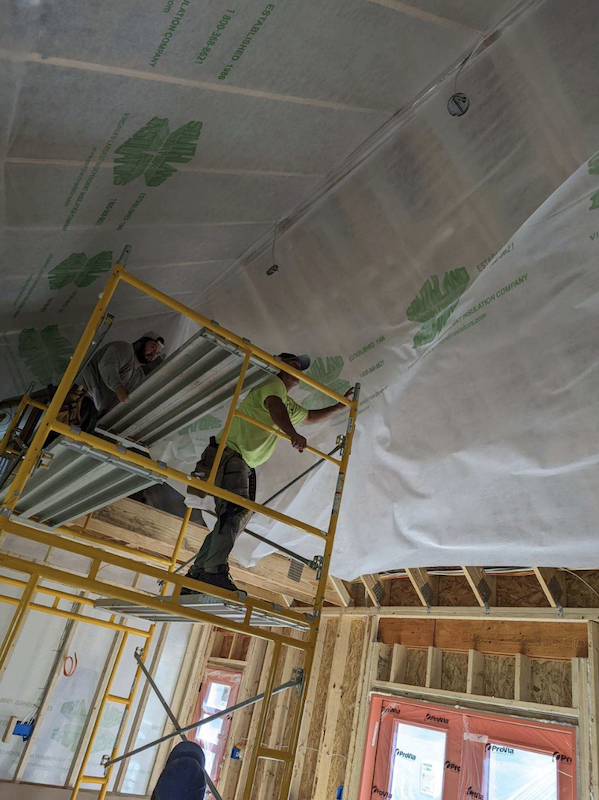
(4) Kulp crisscrossed the roof trusses with 3/4" wood battens installed 16" on the center to prevent any protrusion of the insulation material.
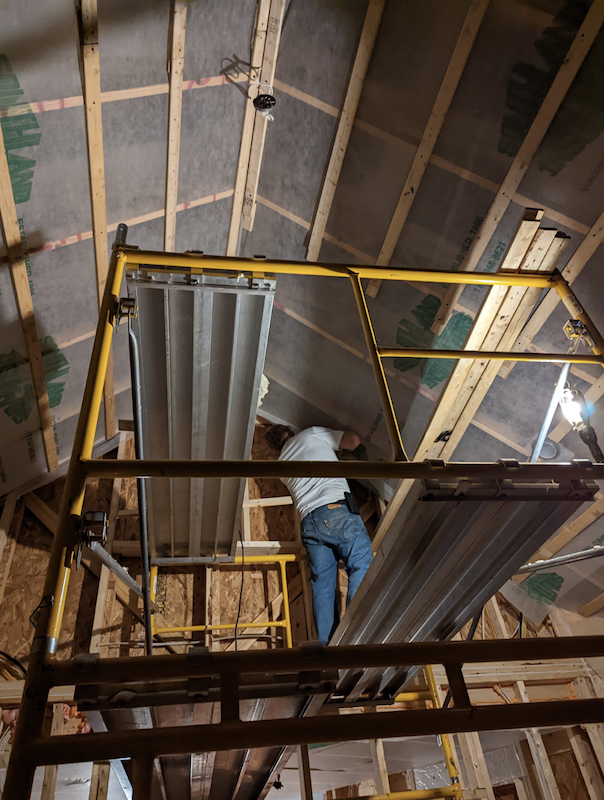
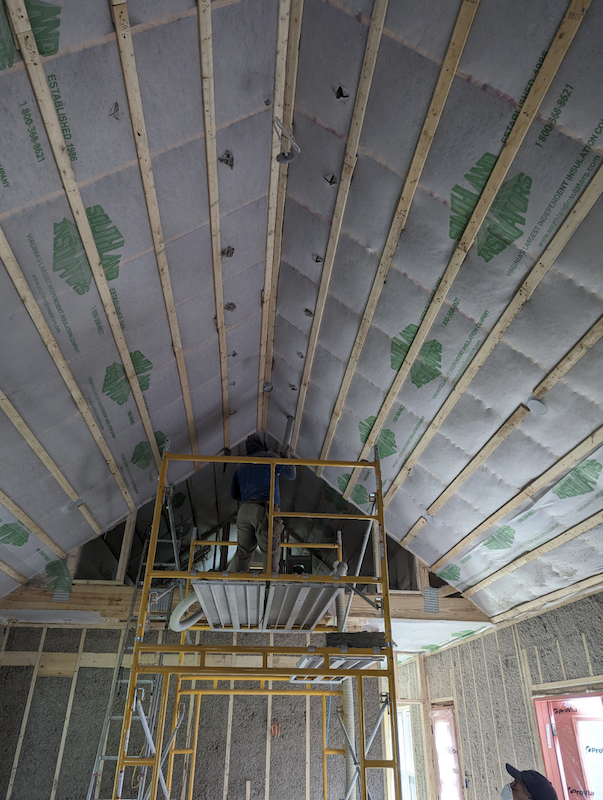
(5) The cathedral ceilings were finished with exposed 4'x8' sheets of 1/2" birch plywood installed with a 1/16" gap for expansion. After filling screw holes with wood putty, the plywood was lightly sanded and coated with a clear water-based satin polyurethane sealer.
